Friday, November 26, 2010

Freezer Apple Pie Filling

Apple Pie Filling


Apple Pie Recipe

Original Recipe Yield 5 - 9 inch pies

Ingredients

· 24 cups thinly sliced apples

· 3 tablespoons lemon juice

· 2 cups water

· 2 ¼ cups white sugar

· 2 ¼ cups brown sugar

· 1 cup cornstarch

· 4 teaspoons ground cinnamon

· 1 teaspoon salt

· ½ teaspoon ground nutmeg

· 10 cups water

Directions

1. In a large bowl, toss apples with lemon juice and 2 cups water and set aside. Pour water into a large cooking pot and heat over medium heat. Combine sugar, cornstarch, cinnamon, salt and nutmeg. Add to water (*It is important that the water is only lukewarm when you add these ingredients or else the cornstarch will clump up!), stir well, and bring to a boil. Boil for 2 minutes, stirring constantly.

2. Drain and add apples and return to a boil. Reduce heat, cover and simmer until apples are tender, about 6 to 8 minutes. Cool for 30 minutes.

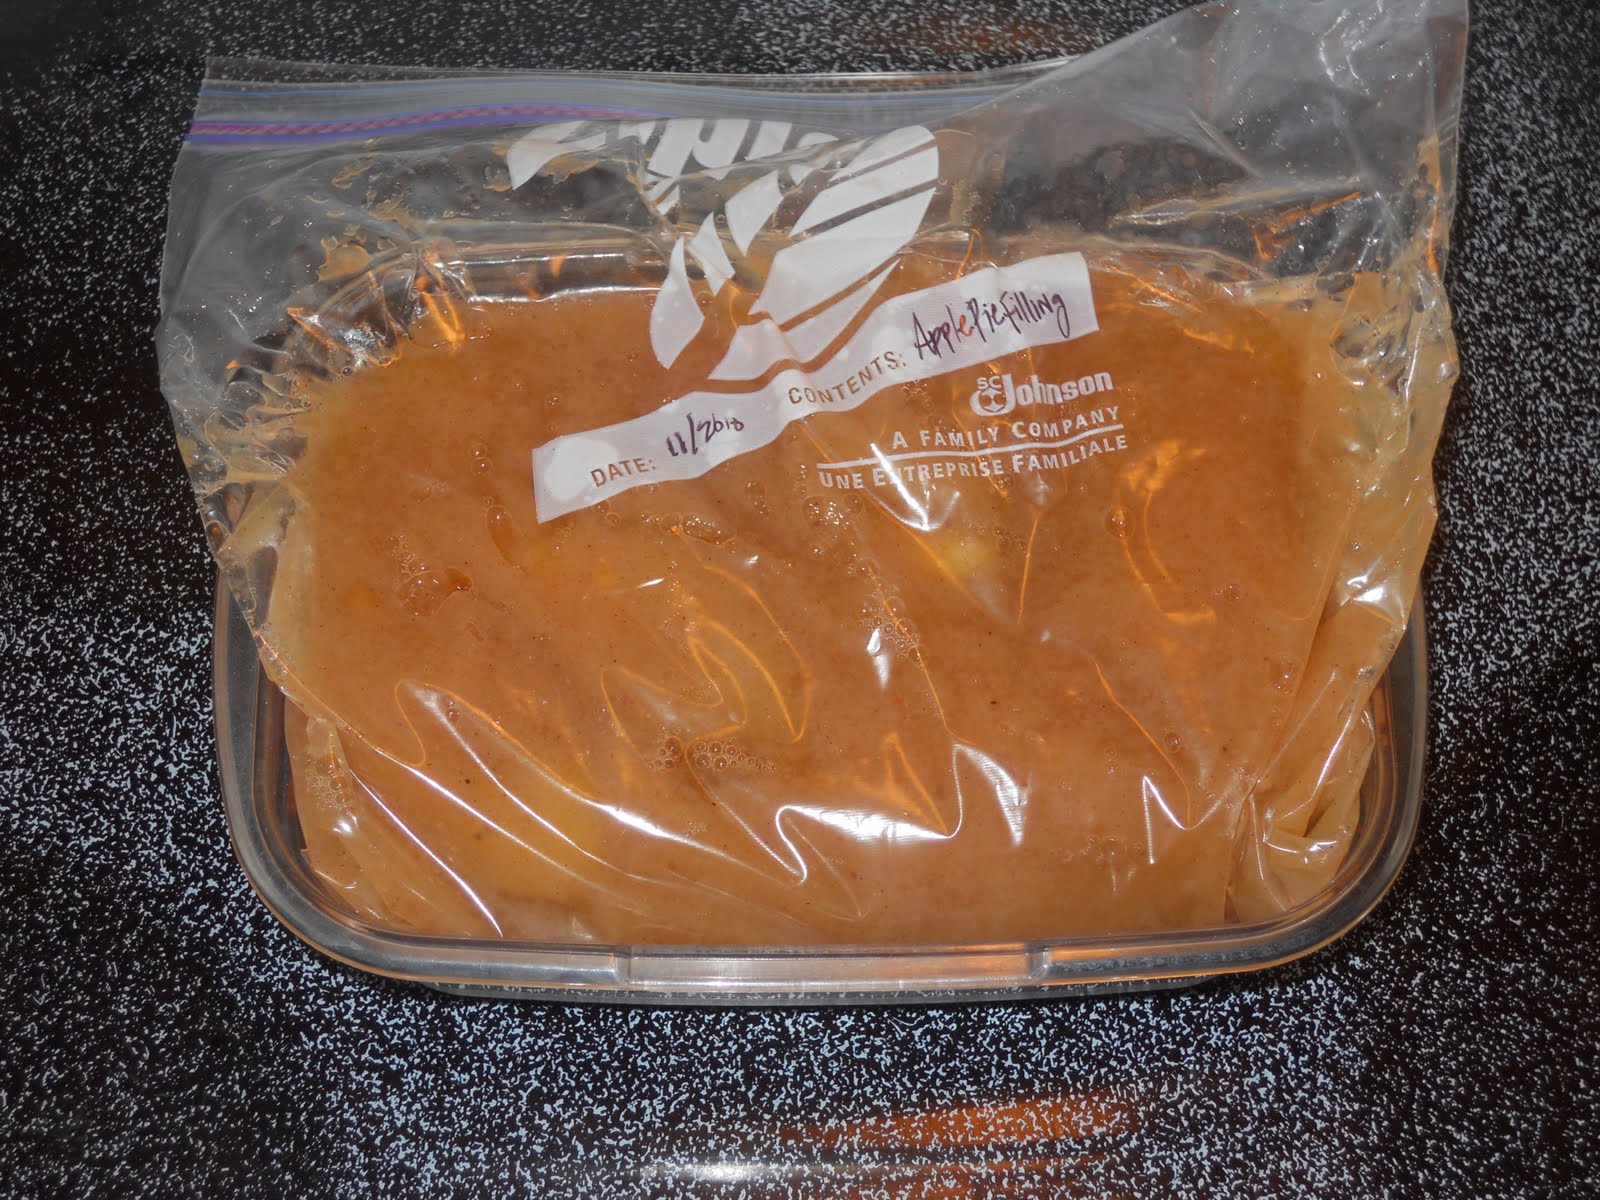
3. Ladle into 5 freezer bags. Cool at room temperature no longer than 1 1/2 hours.

4. Seal and freeze. Don't forget to put the bags in a container to freeze uniformly. Can be stored for up to 12 months.

*Notes: You may want to use a firmer apple (like a granny smith, not a golden delicious) that will hold its shape well with heating, freezing, then reheating so that your pie isn’t just mush. Also, as these apples are already somewhat cooked you may need to reduce the bake time when it comes to actually baking your apple pie.

If you want to take this idea a bit further, try making and freezing your own pie crust. J (But if you want to try that, I would recommend you freeze the unbaked pie crust separate from the filling so that the crust doesn’t get slimy.)


Tuesday, November 23, 2010

Fall on Temple Square


We were already on temple square and dressed up for a family wedding, so we took
advantage of the time to get in a couple of nice family shots.

Friday, November 19, 2010

Feather Light Overnight Rolls

Mom and I brainstormed yesterday about how to simplify our big Thanksgiving dinner preparations. We decided to get done what we could ahead of time. One of the things we're doing is preparing the rolls this weekend. You get them to the point where they are all shaped and need to raise to bake, and then you freeze them. So I'll mix them tonite, stick them in the fridge and let them do the 1st raise overnight, roll them out in the morning, stick them on a cookie sheet in the freezer, then pop them in a ziploc after they're frozen.

Next Thursday morning I'll pull them out and stick them back on the cookie sheet (lightly covered with plastic wrap so they don't dry out) and let them raise until early afternoon, then bake them right after the turkey comes out of the oven, and in my perfect little plan they will come out of the oven, moist and golden, just as we sit down to our feast!

And then everyone will ooh and aah and tell me they're just too beautiful to eat...(okay, reality check - the most appreciation they'll probably garner is that my brothers will wolf down most of them before the rest of us get any)... But anyway, this is a recipe I got from Meridian magazine last Thanksgiving and it quickly became my all-time favorite roll recipe.

Golden Crescent Rolls Recipe

FEATHER LIGHT OVERNIGHT ROLLS - Light and irresistible. Can freeze rolled dough

1 cup water

1 cup butter (2 squares)

3/4 cup sugar

2 tsp. salt

1 cup cold water

4 beaten eggs

2 pkgs. yeast (1/4 oz. each)

1/2 cup water

7 1/2 cups flour

Bring 1 cup water to a boil. Add butter, sugar, and salt. Once butter is melted, remove from heat. Pour into large plastic container. Add 1 cup cold water. Dissolve yeast in 1/2 cup warm water (not hot). When first mixture is lukewarm, add yeast mixture and beaten eggs. Stir briefly. Add flour and stir together. Cover container with lid and refrigerate overnight. When ready to roll out, divide in thirds. Flour surface of breadboard. Roll dough out in a rectangle about 1/2 inch thick. Spread dough lightly with butter. Cut dough down the middle. Shape each half into about six triangles. Roll each up beginning at the wide end to form crescent shape. Oil baking sheet. Put on 3 baking sheets (about 12 per sheet). Let rise about 4 hours. Bake at 400 degrees for about 12 minutes.

If doing ahead, freeze after dough has been shaped into crescent rolls and placed on cookie sheets. Once frozen, put into plastic freezer bags until ready to use. Return them to cookie sheets and let rise about 6 hours or until light. Proceed with previous baking instructions.


We have also talked about pre-baking our pie shells (MC's acknowledged for the many years my hubby did that!), and I have a freezer apple pie filling recipe i'm going to try (I'll tell you how it went next week), and I've also found a mashed potato recipe that can be done in the crock pot ahead of time (not a freezer recipe per se, but here's the link if you're interested http://allrecipes.com/Recipe/Slow-Cooker-Mashed-Potatoes/Detail.aspx). So here's to a less stressed Thanksgiving day!


Saturday, November 13, 2010

Creamy Chicken and Pasta


Shall we just rename it "Freezer Food Saturday"? It just doesn't have the same ring to it. Family wedding yesterday... an all day affair.

Creamy Chicken and Pasta

3 cups pasta, any shape

1 can cream of chicken soup

1 12-ounce can evaporated milk

1/3 cup parmesean cheese

1 cup shredded mozzarella cheese

2/3 cup French fried onions

1 pint canned chicken, drained (or 2 cups cooked chicken)

Salt and pepper to taste

Cook pasta in salted water for 1/2 of the time recommended on the package. Drain. Combine all ingredients. Put in gallon freezer bag, label, freeze (remember for uniformity and easier storage in freezer to freeze filled bag in a casserole dish).

Thaw before baking in a greased casserole dish. Bake covered for 45 minutes at 350 degrees. Uncover, top with more French fried onions. Bake for 5 more minutes.


Saturday, November 6, 2010

Freezer Food Friday...on Saturday!

Okay, I'm pretty lame, I know. I'll get this down yet! ;)

This week's meal is one I got from my mother-in-law but tweaked it a bit (used red peppers instead of green because I think red taste better cooked!). It sounds intimidating, but is really very easy. And you can quite easily do a ton all at once. I love this one because you don't have to wait for it to thaw before you pop it in the oven.

Stuffed Red Peppers

Pepper Shells

3 Large Red Peppers

5 cups boiling salted water

Meat Filling

1 pound ground beef

1 small onion, chopped (about ¼ cup)

½ cup chopped celery

1 can (8 ounces) tomato sauce

1 teaspoon salt

¼ teaspoon garlic salt

1 teaspoon Worcestershire sauce

½ cup uncooked instant rice

½ cup water

Heat oven to 350 degrees. Cut each pepper lengthwise in half. Wash insides and outsides; remove seeds and membranes. Cook peppers in boiling salted water 5 minutes. Drain and set aside.

Cook and stir meat, onion, and celery in large skillet until meat is brown. Drain off fat. Stir in half the tomato sauce and the remaining ingredients; heat to boiling. Reduce heat; cover and simmer 5 minutes.

Place peppers cut sides up in ungreased baking pan, 9x9x2 or 8x8x2 inches. Spoon meat filling into peppers. Cover with aluminum foil and bake 25 minutes. Uncover; top with remaining tomato sauce and bake 5 minutes.

Makes 4-5 servings.

For freezer version, prepare as above except stir all the tomato sauce into the filling mixture, cover with aluminum foil but do not bake. Label; freeze no longer than 2 months. I wrap them individually in plastic wrap and then put them all in a gallon freezer bag.

To serve: Bake foil-covered pan of frozen peppers in 350 degree oven until hot, 1- 1 ¼ hours. Uncover; top peppers with cheddar cheese slices, catsup, or chili sauce and bake 5 minutes.


Wednesday, November 3, 2010

Holiday Boutique

I'm so excited!!! This is a really nice, fun boutique my mom and I go to every year. About October I start looking forward to it. We go under the guise of buying Christmas presents, but usually end up getting more things for ourselves and our homes :P. Every year we get cute ideas and say to each other, "Gee, I could do that if I had the time," or "We can make cute stuff like this; why don't we sell stuff here?" Well this year we are! We're going to have some of our homemade breads, sweet rolls, and granola there. (We entered to late to get in any crafty things... maybe next year!)
There are cute items for every price range and even if you don't buy anything it's fun to get crafty ideas for your own home. So go check it out!

Tuesday, November 2, 2010

Happy Halloween!

A dry run of the costumes a couple weeks before Halloween. These are all the local Rogers' grandkids.
Yes, Cratey was bored and ready to be done with pictures - I began to feel the same way after a bit!
After much anticipation for the pumpkin carving event, it was rather comical to see the lack of enthusiasm and Stratton's reaction to the dirty work of carving:
They did survive, and here's the finished product:
And these are our two cowboys later that night, ready to rustle up some candy. (And our little Keely-Cat!)
He-lo sugar high for the next two weeks!!!! :/